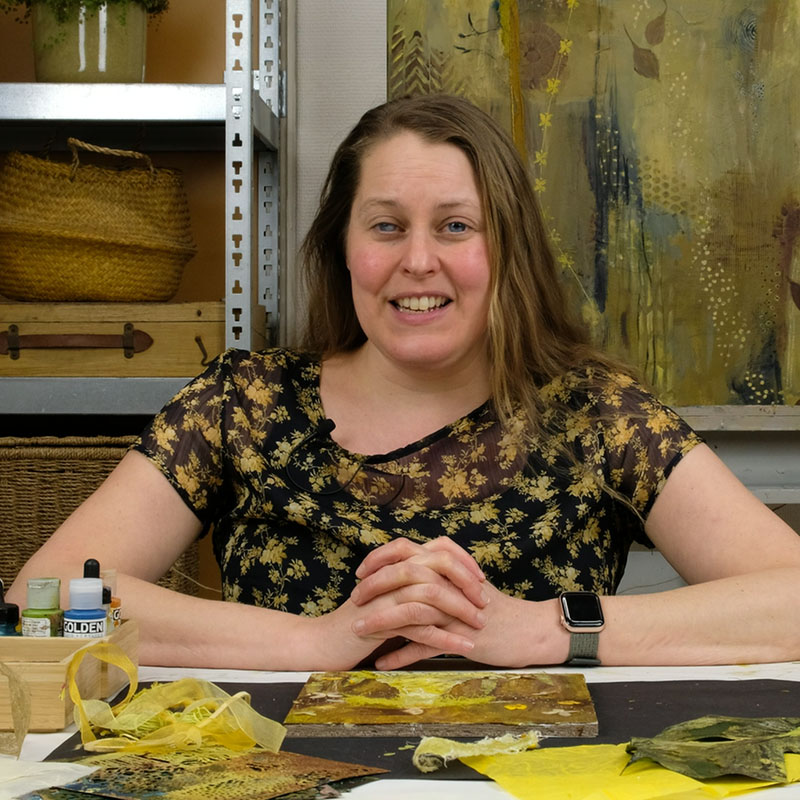
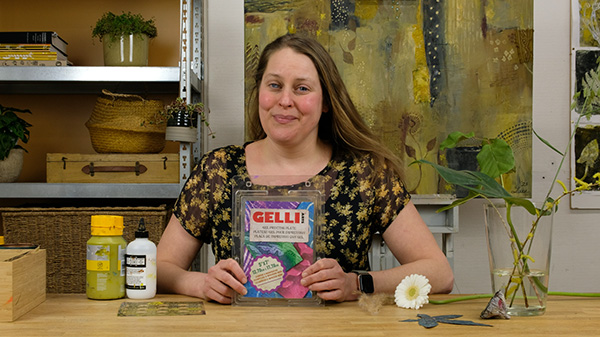
Printing class
‘Botanical Gelli Prints’
Play, print, paint, create!
Printing with the Gelli Plate provides endless possibilities and the results are always surprising! Especially when you find out that all things with texture can be placed on the plate. However, this can be a danger as well. Many people feel overwhelmed by so many options and can experience it’s a bit aimless to just ‘play around’ and ‘go nowhere’.
That’s why this class is designed in such a way that you can dive into the playful part as well as the more working to a result part. To make it extra fun we work with botanical items, like leaves and flowers.
By the end of the class you will be able to use all the basic techniques for Gelli plate printing. Also you can vary in options of stamping, stencilling and using glazing medium. In the final part of the class, you have a lot of options to work out your prints, so you’ll end up with a cohesive series of prints, inspired by nature. On top of that, you’ll receive 2 BONUS lessons!
What you’ll get with this painting class:
- A BONUS lesson about printing the Monstera leaf
- A BONUS lesson ‘Creating an angel out of left-over prints
- Duration: approx. 3 hrs and 45 mins.
- Self-paced printing / painting class
- Direct access
- Video lessons easily accessible via your standard internet browser on Mac, PC, smartphone or tablet
- Experience level: All
- Printable workbook included
- Feedback from Luz and your fellow students via our own private classrooms
Price: USD 95
I really enjoyed the workshop ‘Botanical Gelli Prints’. Now it’s the day after and I’m looking at the prints I’ve made. Working on those, I felt like a child again. Spreading paint, putting flowers and plant material on the plate, covering it with a printing sheet and every time the result was a surprise. It is so special!
What is Gelli Plate printing?
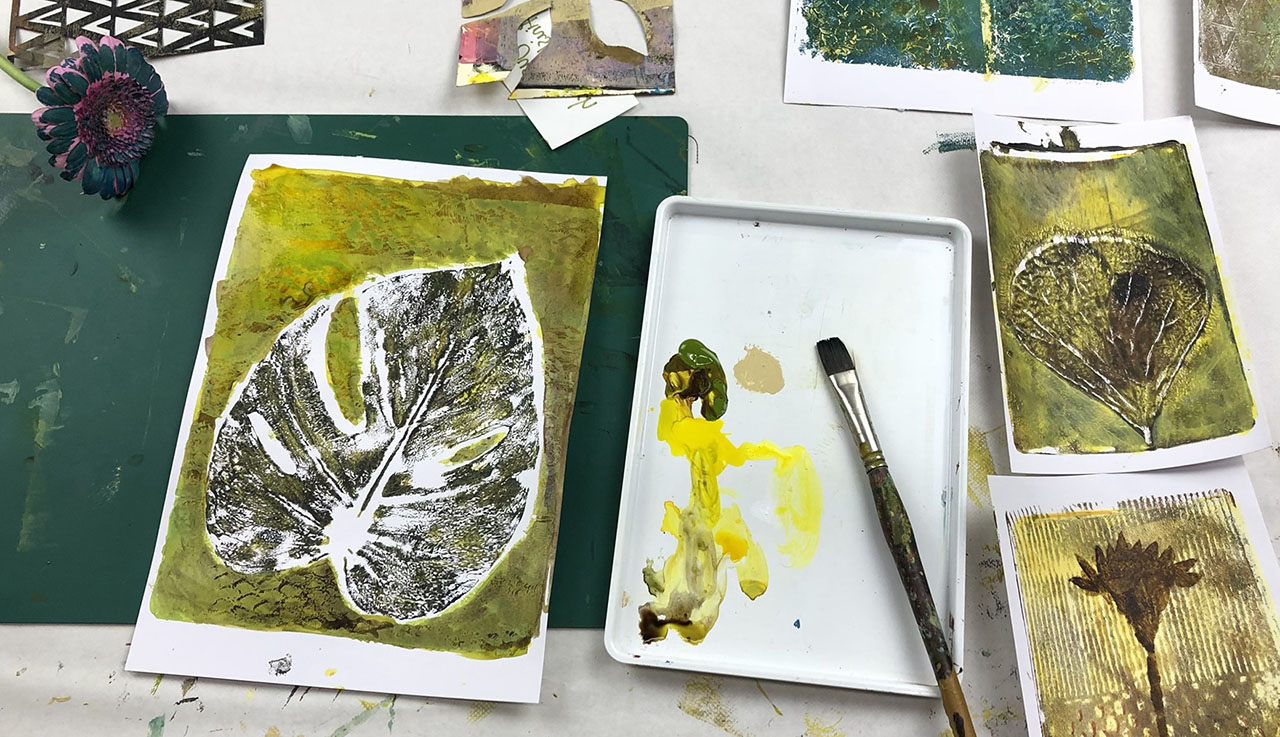
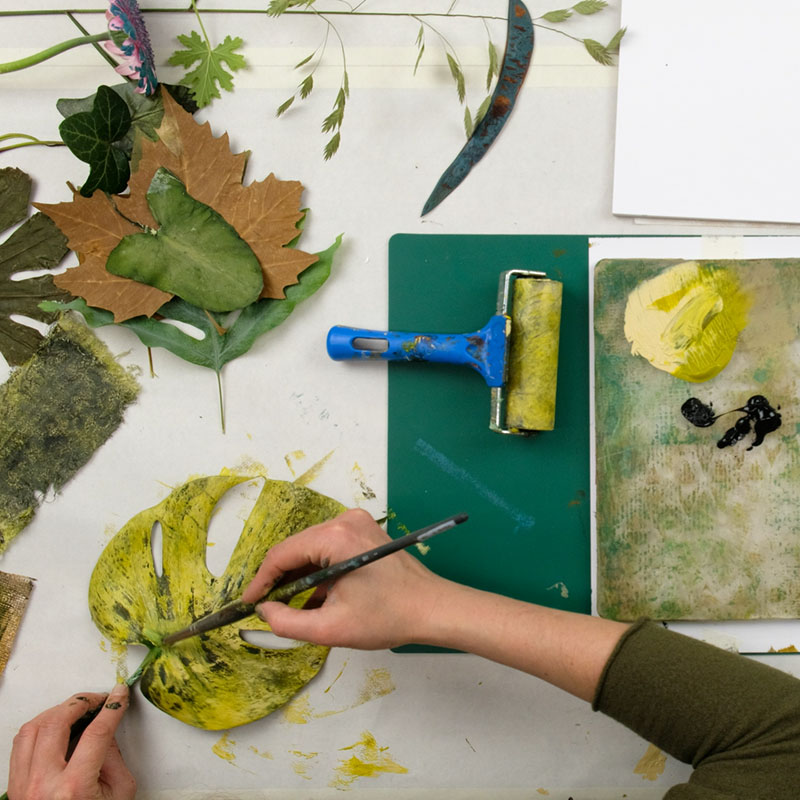
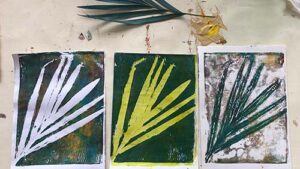
It is a cheap, easy, and fun way to get into your artistic flow and create some art. Gelli plate printing is a mono-printing technique that works with a plate made of a gelatine-like plastic. The plate is inked with paints or ink, and impressions are made using stencils and various natural materials like leaves or plants, flowers etc. Paper is then laid on top of the plate and a paint or ink impression is pulled off. I prefer to use acrylic paints and inks for my printing, like most Gelli plate creators do.
Printing leaves
Using plant material in combination with the Gelli plate can give astonishing results. You collect your own botanical items.
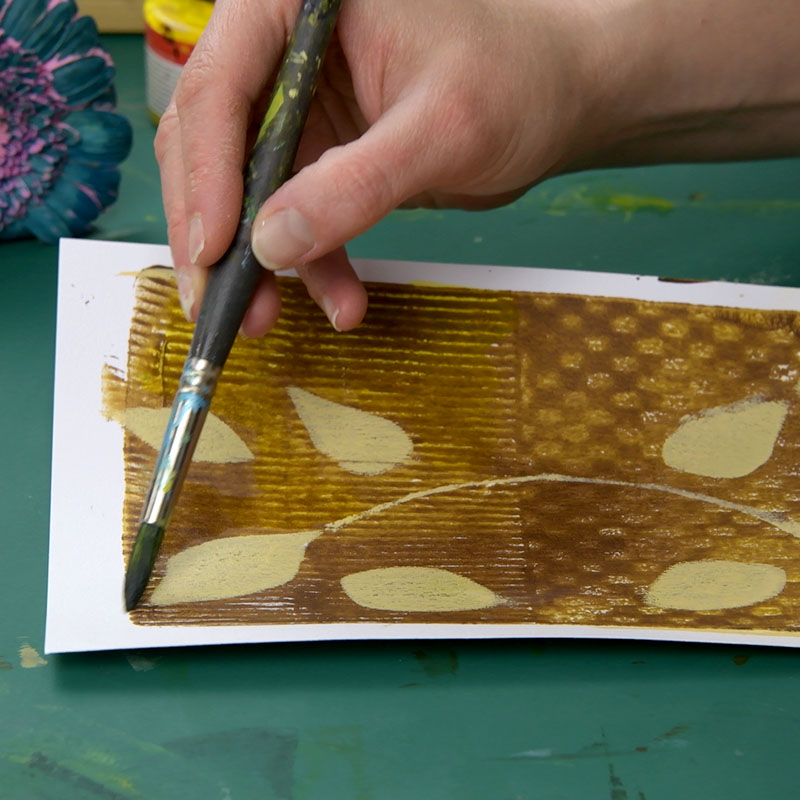
To make it extra personal, you learn techniques to create your own (longer sustainable) stencils.
Working out your prints
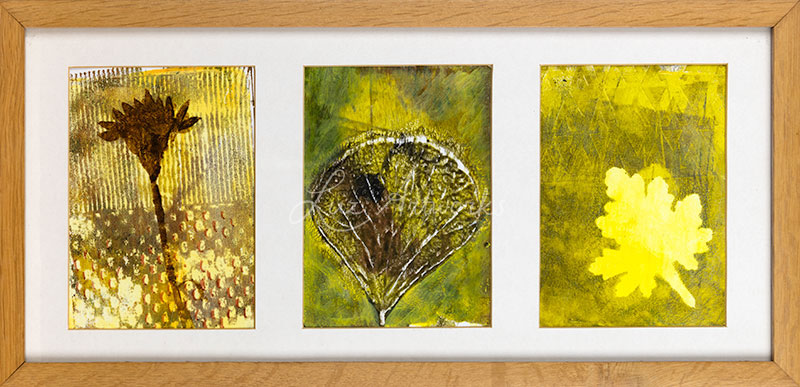
In this class I offer you several options to finish your prints and create a collection or a series with an overlapping theme.
Some prints dont’ need anything more than a few lines with a fineliner or a brush strokes. On other ones you could overlap parts with transparent layers.
Creating a series
Once you have selected your favourties, you could make a series of postcards out of those or hang them on your wall. It’s also a wonderful present to give to your loved ones.
2 Bonus lessons
I can never get enough of Gelli Printing. That’s why I added TWO (!) bonus lessons to this class. In the first bonus lesson I am working out several Gelli prints from a beautiful Monstera leaf. In the second one I create a collage with my left-over prints. Never throw away the ‘failures’! I show you how I make an angel out of pieces of my prints.
Painting for all levels of experience
You can participate in this course if you have been painting for a while, but also if you have no experience at all. The course encourages you to play and, most of all: to enjoy the process. A perfect result is a nice bonus!
What you’ll get with this painting class
A workbook
Alongside the course you will get a downloadable and printable workbook with extra information and inspiring pictures.
Instant &
lifetime access
The freedom to watch the course at your own pace, when you want to, as often as you wish. You can watch it from your desktop, but also from your tablet or your phone in a browser.
Your classroom
You’ll get instant access to this class’ private classroom where you can meet other students, ask questions, share your results, and get valuable feedback on your work.
“This class is very inspiring. I bought my gelli-plate 6 months ago and was already bored after one time use. I washed my plate again after every coat of paint. Learned here that I can just continue working with new colours on the same plate and that it works very nicely if you can still print left-overs from your previous layer. Cool to learn glazing too, that offers even more possibilities. In short: recommended!”
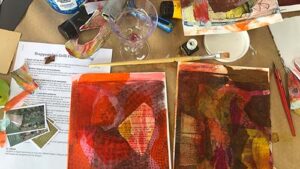
Working materials in Botanical Gelli Prints
Substrate
Gelli plate printing can be done on paper, but also on cotton or other textiles. In this workshop I’ll just show you how I work on paper. I advice you to work on thick paper, 200 gr. or more, especially if you want to use mixed media techniques. You could use all sorts of paper, like Kraft paper, old book pages and coloured paper.
Painting items
In this class we work with acrylic paint. I use paint from the brand Winsor & Newton Galeria and Royal Talens. I sometimes use very cheap paint for Gelli printing as well, because it’s often thinner.
In the class I’ll be showing you how to work with glazing medium combined with fluid acrylics. I also use some acrylic inks on the plate, and to give a finishing touch to my art pieces.
The Essdee brayer is my best friend. In this class I use the 4” soft brayer. To refine my work I use brushes in various sizes and shapes. My favourite ones are from the Raphael series. A tin or jar and kitchen towels to clean your brushes.
Printing items
I will encourage you to look for things in and around your home for botanical items to put on your Gelli plate that provide texture. Of course, you are free to use premade stamps and stencils. But I am sure you could do it without those!
And finally...
At the end of the course you might need some mark making tools, such as markers, fineliners, pens or soft pastels. For the bonus lesson you will need glue or gel medium to make your collage.
Don’t forget...
It’s handy to keep water, kitchen towels and hand gel within reach. Also think about something to protect your table and an apron to protect your clothes.
Class Content
Introduction
About Instructor


